


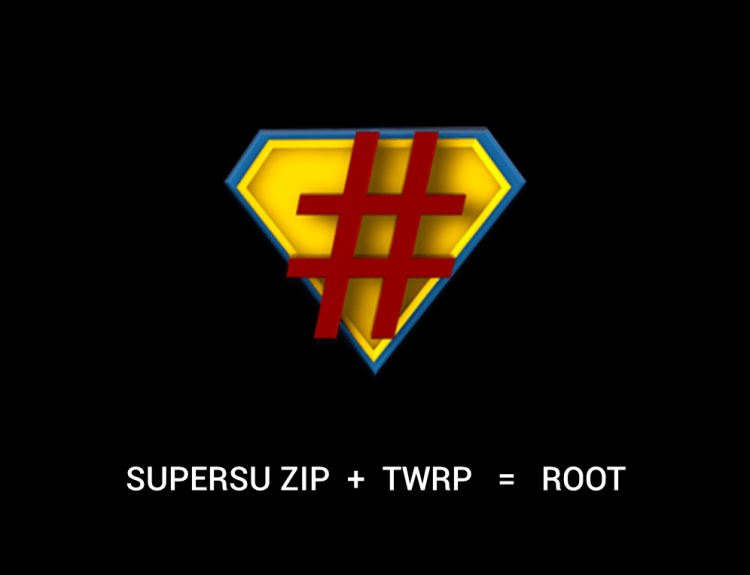
If you want to root your android device then you are at right place. Here is how to flash SuperSU using TWRP Recovery & Root any Android device. Being an advanced Android user, if you want to root your phone then you will need to flash the SuperSu zip file via custom recovery, such as TWRP or CWM recovery etc but we strongly recommend the TWRP recovery because it is the most used & features packed Recovery for Android devices right now. In this detailed guide, you will learn that how to flash SuperSU using TWRP Recovery or any other custom recoveries and root your Android phone.
Flashing SuperSU is one of the easiest methods to get root access on any Android smartphone. All credit goes to Chainfire, the developer of SuperSU application. SuperSU tool can be named as the best Android Rooting Tool ever and it is a superuser manager app by developer Chainfire, which manages root permissions on your device once it’s rooted. Installing SuperSu and flashing TWRP Recovery voids company warranty. So proceed with your own interest and understand the risk.
If your Android device has bootloader unlock-able and has a custom recovery for itself, then congratulations! Your device is eligible for the world’s easiest method to get root access. If you wish to root your Android device and flash SuperSU Zip file using TWRP Recovery then go ahead and follow the given steps.
You May Also Like:
Pre-Requirements:
- Make a proper backup of all the existing data and settings of your Android Device.
- Verify that you’ve correctly installed the Android Phone USB Drivers on the PC.
- Enable USB Debugging Mode on your Android device by navigating to Settings > Developer Options > check the USB Debugging option.
- The stock version will replace the custom recovery.
Required Files:

Step To Flash SuperSU using TWRP Recovery & Root Any Android Device:
1: Download SuperSU zip file from the below download section to your PC.
2: Take a USB cable and connect your Android device to PC. Now copy the zip file to your device storage.
3: Disconnect the device from PC and boot into TWRP recovery using appropriate hardware keys.
Press and hold the Volume Down + Home + Power keys at the same time. As soon as your device screen goes black, immediately leave the Volume Down button and swap to Volume Up button while still holding other 2 buttons. Keep the 3 buttons pressed until you get into TWRP Recovery.
4: From recovery main menu, tap on ‘Install’ and select the SuperSU .zip file which you have copied to device storage in step 2.
5: Now you need to perform Swipe to Confirm Flash located at the bottom of the screen.
6: That’s it! Flashing process starts automatically. Hold your seat until the SuperSU is successfully flashed on your Android mobile.
7: Once done, select ‘Reboot System’ to boot your mobile into normal mode.

Done! You’ve successfully Flash SuperSU Using TWRP Recovery & Root Any Android Device.
Do let us know in the comments area below if you have any trouble while flashing SuperSU via TWRP recovery on your Android phone and rooting it.
For more such interesting article like this, app/softwares, games, Gadget Reviews, comparisons, troubleshooting guides, listicles, and tips & tricks related to Windows, Android, iOS, and macOS, follow us on Google News, Facebook, Instagram, Twitter, YouTube, and Pinterest.


