
![FIFA 2024 Mod FIFA 14 Mod Obb Data Off [1.4GB]](https://naijatechnews.com/wp-content/uploads/2023/10/AAAFA3D6-62E0-477C-B1CC-497B2FE7A5F9.jpeg)


There are many reasons to want a transparent image background or even remove it completely. These modifications are very useful when creating product pictures, adding photos to documents, creating presentation slides, adding extra content to videos, and even editing personal photos or working on a fun project.
In some cases, users remove the background or make it transparent to shift the focus entirely to the subject. In other situations, this method is necessary to make room for a different background.
Want to eliminate a friend turned foe from a photo, get a hug from a celebrity you didn’t meet, or put yourself at the bottom of the Grand Canyon sipping a cold one?
These types of projects first require mastering background removal and adjusting transparency.
Here’s how you can accomplish these tasks in various applications.
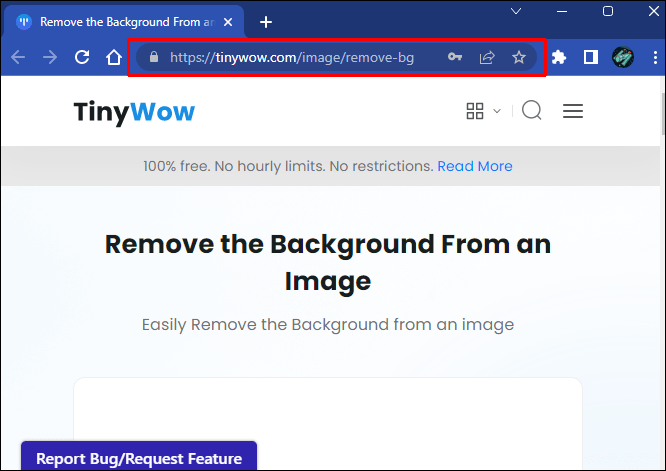
TinyWow
Removing an image’s background in TinyWow is one of the easiest modifications to make in the cloud-based photo editor.
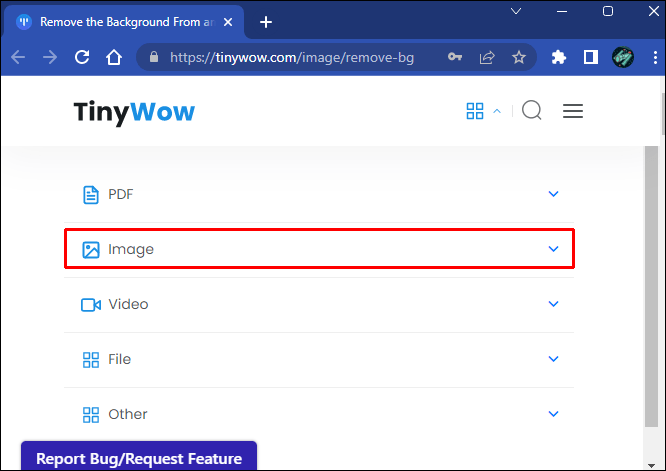
- Go to TinyWow.com.

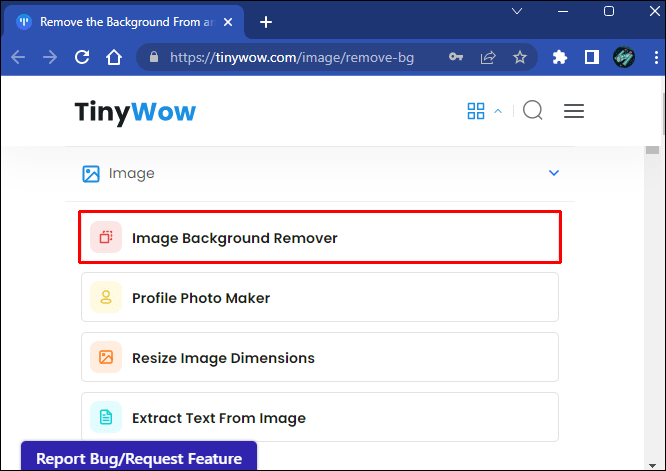
- Go to the “Image” tab in the main “Toolbar” section.
- Select the “Image Background Remover” option.
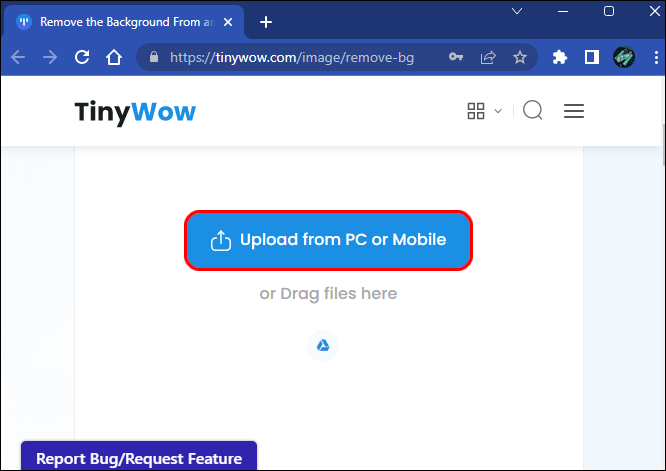
- Drag the image into the editor’s interface or upload it with the “Upload from your PC or Mobile” option.
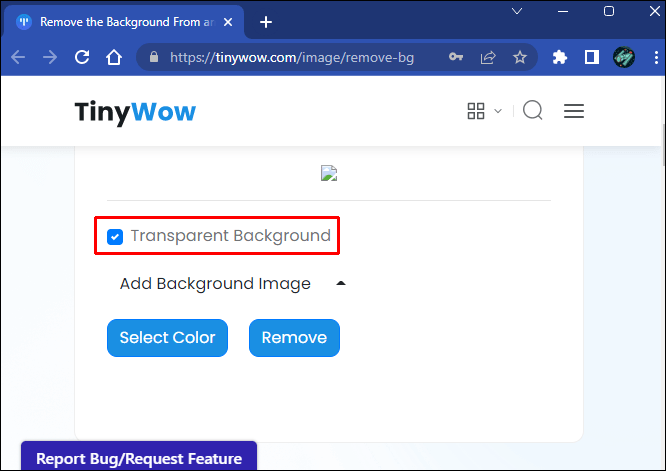
- Check the “Transparent Background” box.
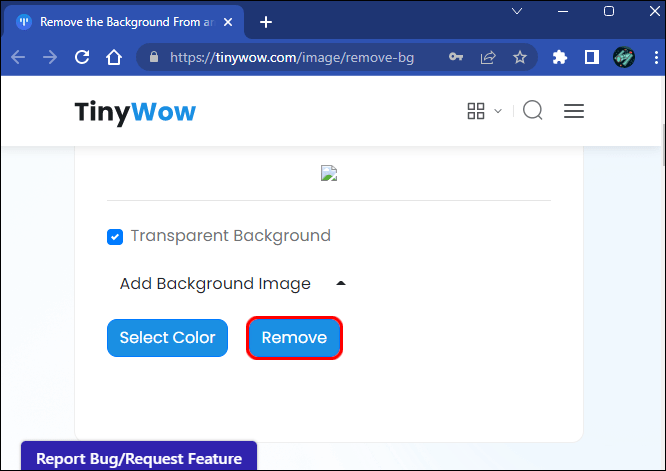
- Hit “Remove.”
- Click the “Download” button.
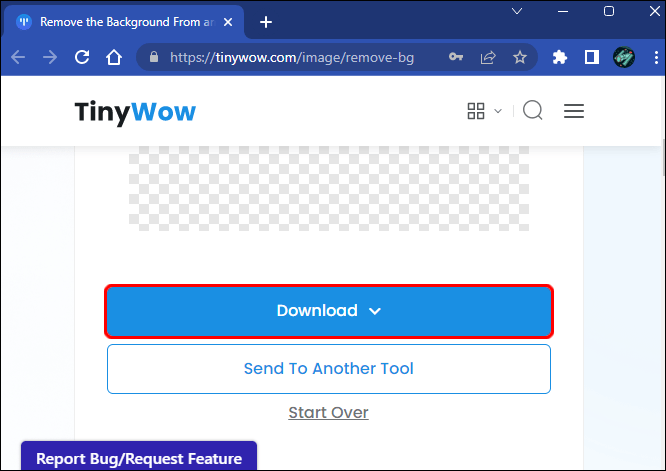
You’ll note that TinyWow has an additional option after the background removal is complete. You can choose “Send to Another Tool” to export the image into another photo editor.
This may be necessary to fine-tune the image and make adjustments to complex pictures that TinyWow can’t handle.
Compared to other photo editors, TinyWow offers little hands-on control over object selection. This can result in average background removals in complex files.
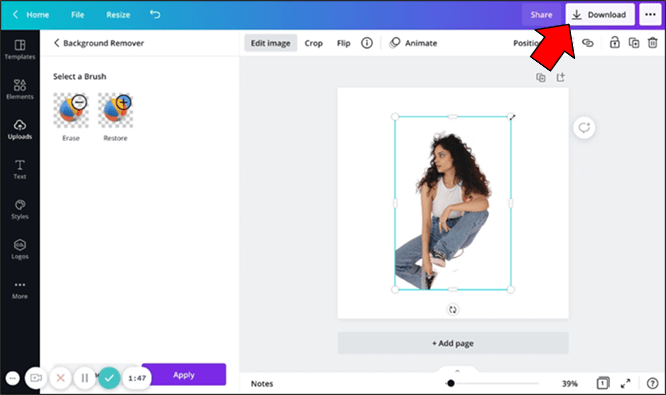
Canva
Canva’s popularity can’t be overstated, especially due to how smoothly it works and the wide range of tasks you can accomplish, even using the free version.
Unfortunately, the transparent background feature is only available in the premium subscriptions for Canva Pro and Canva Enterprise.
That said, if you have a premium Canva subscription, removing an image background and making it transparent is easy enough.
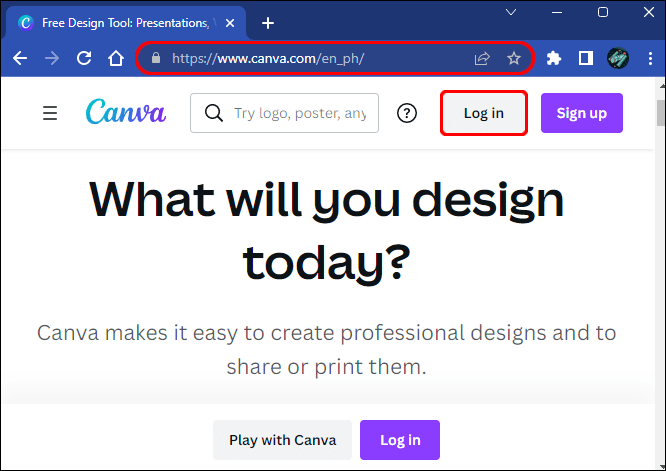
- Log in to your account on Canva.com.
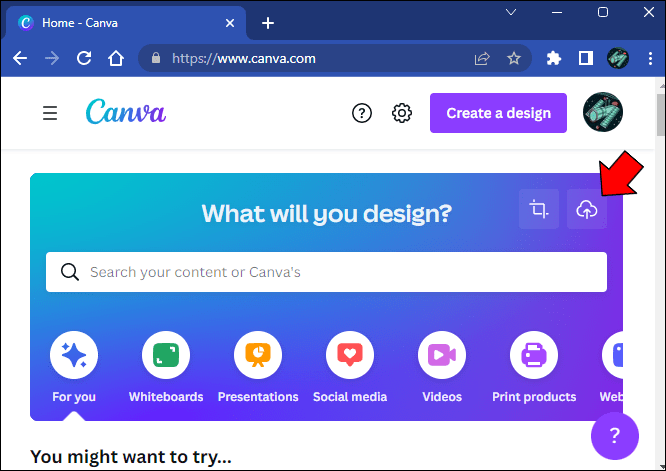
- Upload an image file.
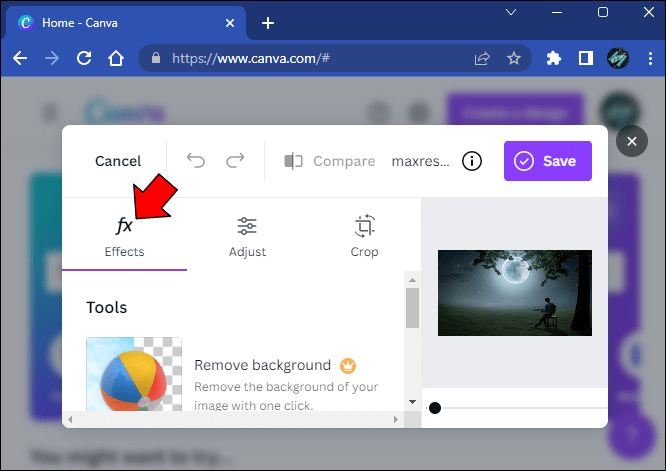
- Go to the “Toolbar” and hit the “Effect” button.
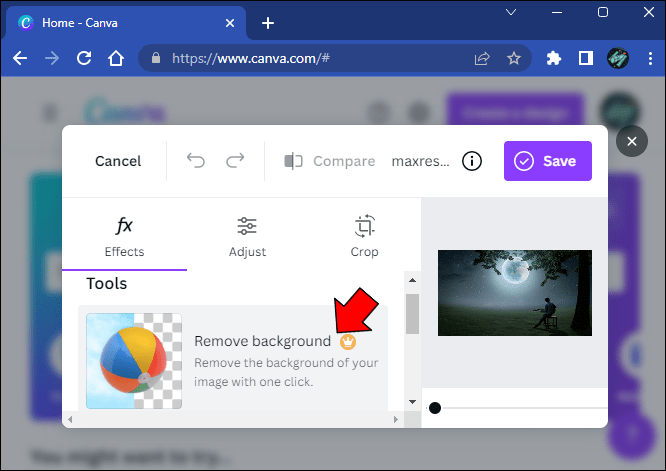
- Select the “Background Remover” option.
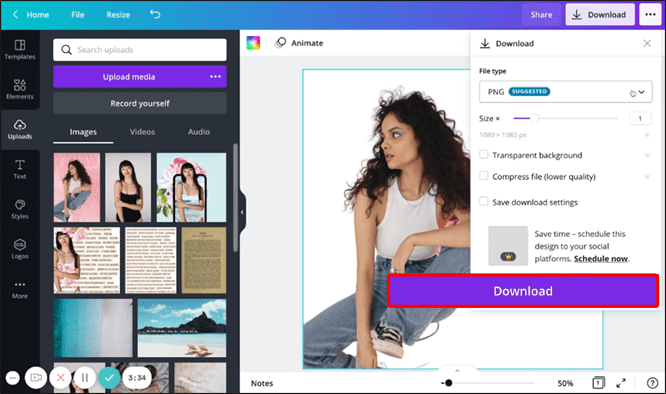
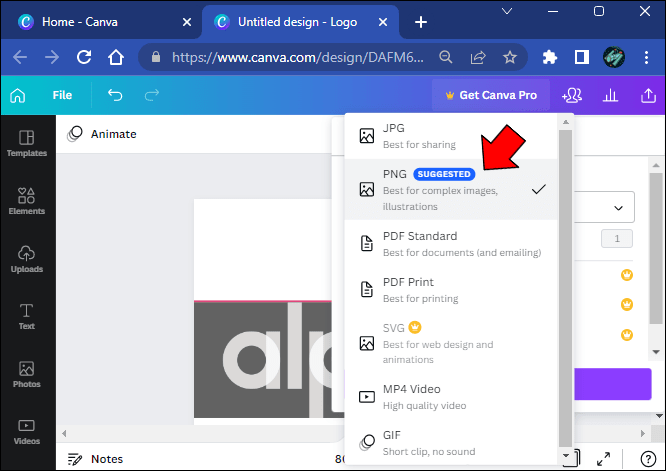
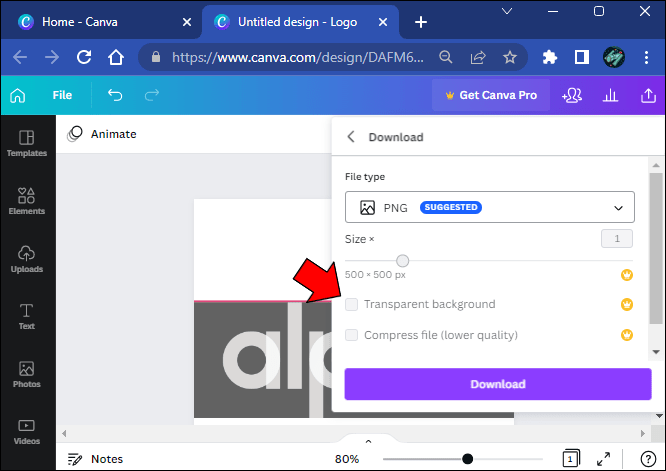
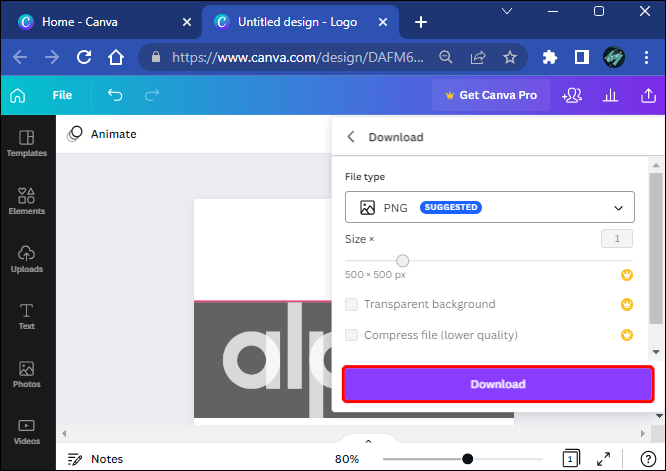
- Click the download icon next to the “Share” button.

- Select the PNG image format.

- Check the “Transparent background” box in the “Pro options” section.
- Click the “Download” button.
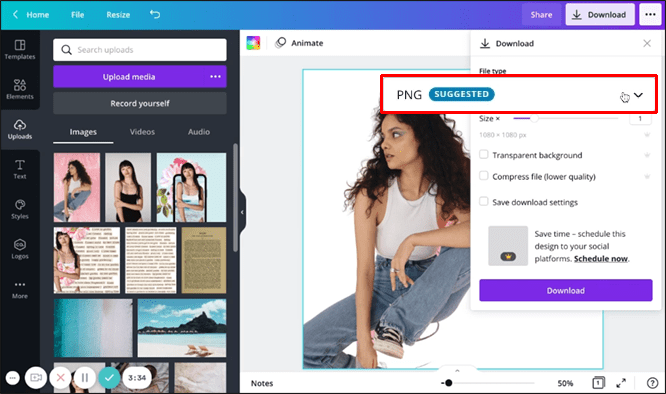
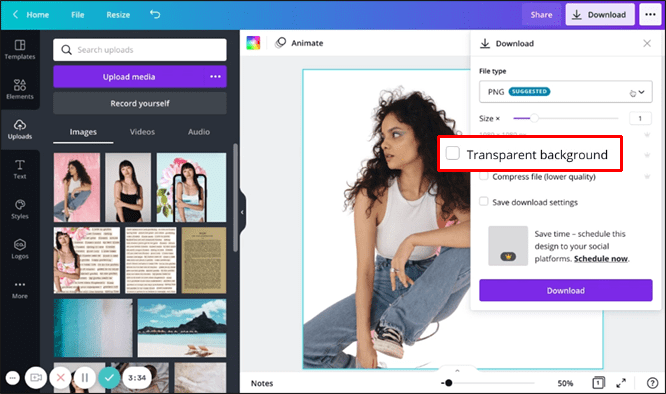
The background won’t be transparent if you don’t select the PNG format.
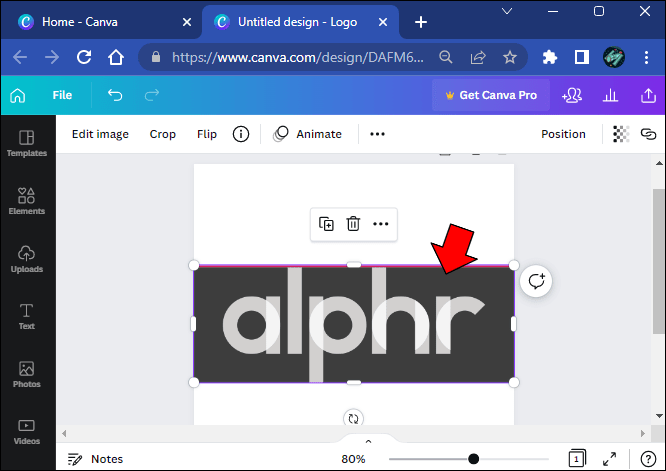
There’s an alternative method to giving an image a transparent background to make text or objects stand out.
- Load an image into Canva.
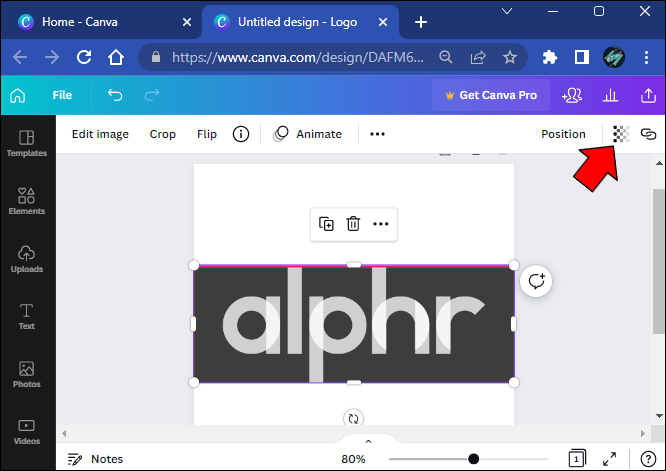
- Select the background image.
- Click the checkerboard icon in the upper-right image corner.
- Adjust the slider between 0 and 100.
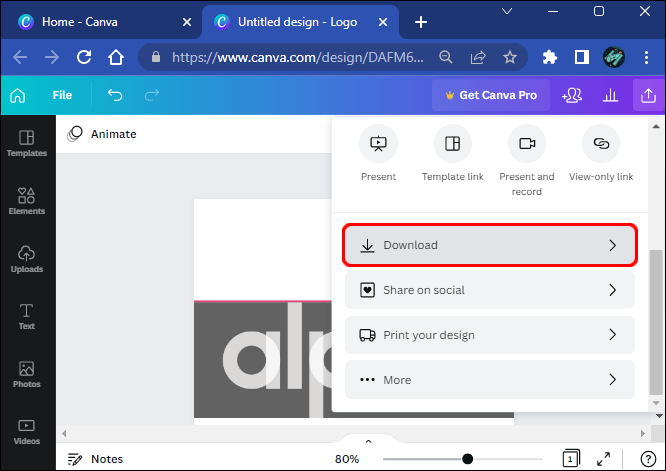
- Hit the “Download” button.
- Select the PNG format.
- Check the “Transparent background” option.
- Hit the “Download” to complete the process.

Adobe Photoshop
Eliminating the background from a photo in Adobe Photoshop is a five-stage process with very easy steps to follow.
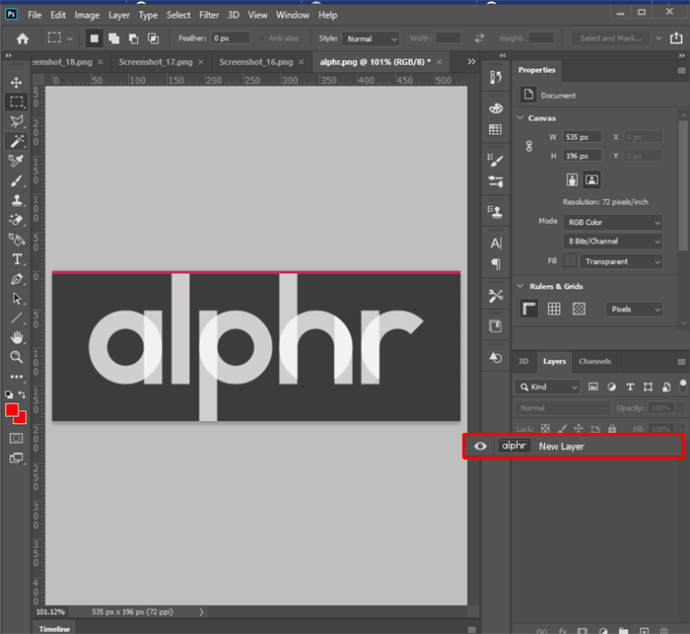
- Turn the picture into a layered file.

- Select the object.
- Remove the background.
- Save it in a web-ready format.

- Save the file.

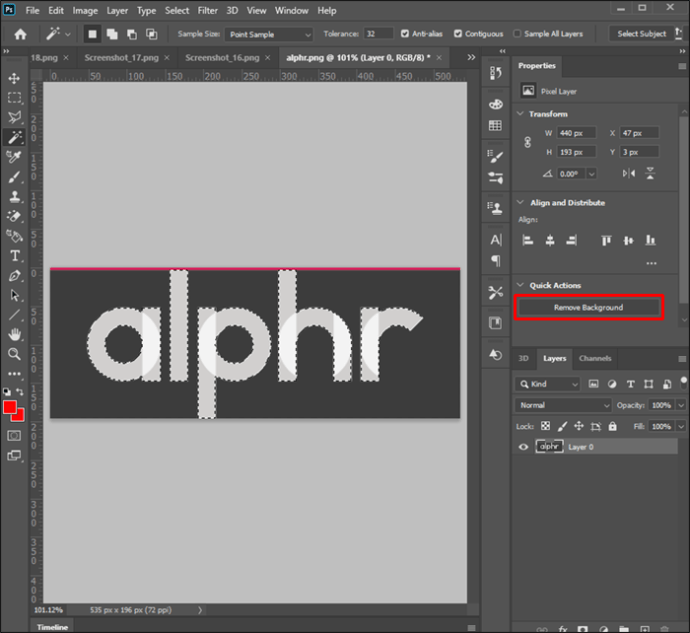
Here are the steps of the process.
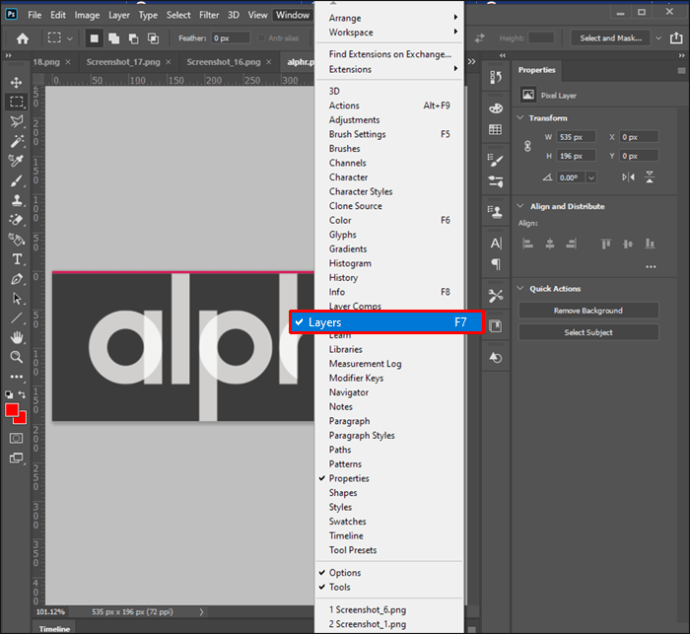
- Go to “Window” and bring up the “Layers” panel.

- Double-click the “Background” layer.
- Rename the layer and hit “OK.”
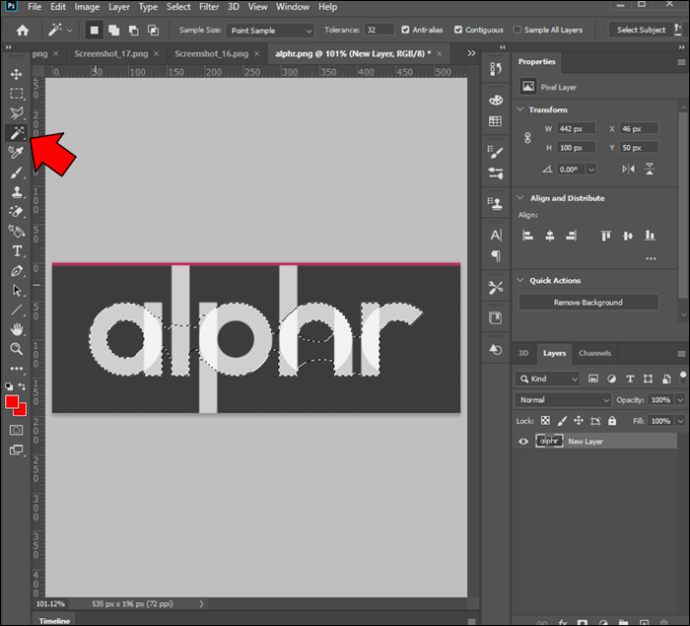
- Use the “Magic Wand” from the “Toolbar.”
The “Magic Wand” tool offers more control over tricky areas that the Adobe Photoshop algorithm can’t separate on its own. You can use this in projects featuring product images to clearly distinguish gaps, holes, and other minor background details.
It’s also possible to use the “Magic Wand” to make the entire selection manually, although it’s a time-consuming process that requires experience and a steady hand.
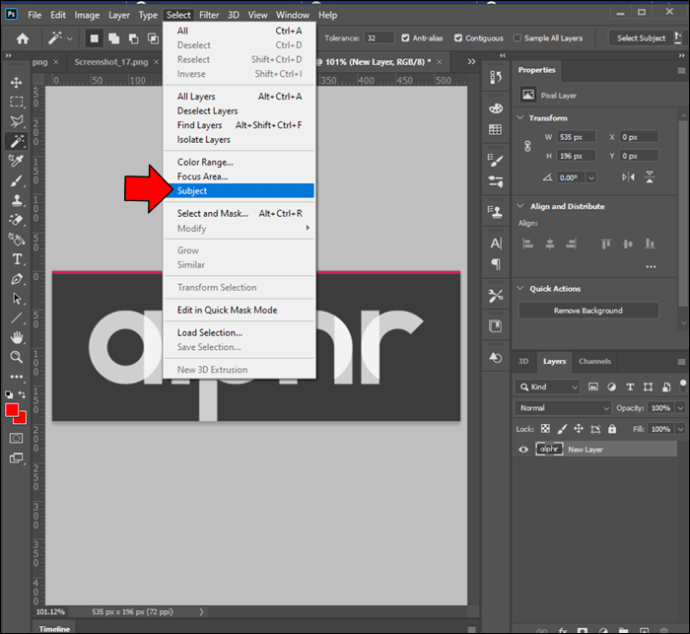
- Hit “Select Subject” in the “Options” bar.
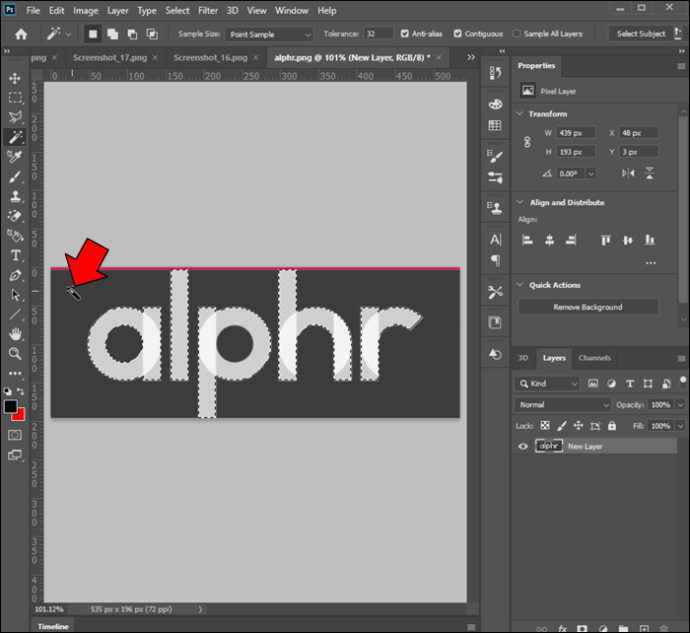
- Remove more background with the “Magic Wand” if necessary.
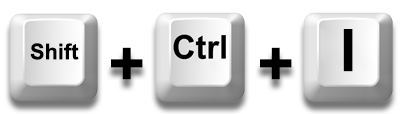
- With the product selected, press “Shift+Ctrl+I” or “Shift+Command+I.”

- Press “Delete” or “Backspace” to delete the background in the inverted image.

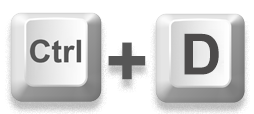
- Press “Ctrl+D” or “Command+D” to deselect the object.

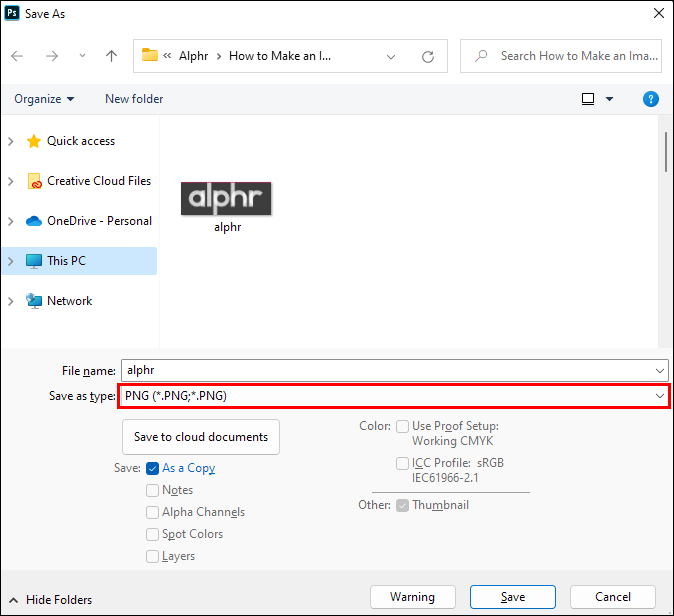
- Save the new image in a PNG-24 format.


You’ll know you’ve been successful if you see a checkered white and gray background behind your object. This indicates transparency in Adobe Photoshop.
When attempting to save a file with a transparent background, it’s essential to check the “Transparency” box before exporting the file to the desired format.
Note that there are limitations. For example, you can’t do this and export to an 8-bit file or PNG-8 format.
Depending on your version of Adobe Photoshop, you can use the “Magic Wand,” “Lasso,” or the “Quick Mask” tools to make background and object selections.
Google Slides
If you do most of your work online, chances are you’re using Google Slides every now and then. This versatile tool allows you to create amazing presentations and even make some adjustments to images.
It’s a great option if you want to save time and not use a third-party graphic design editor.
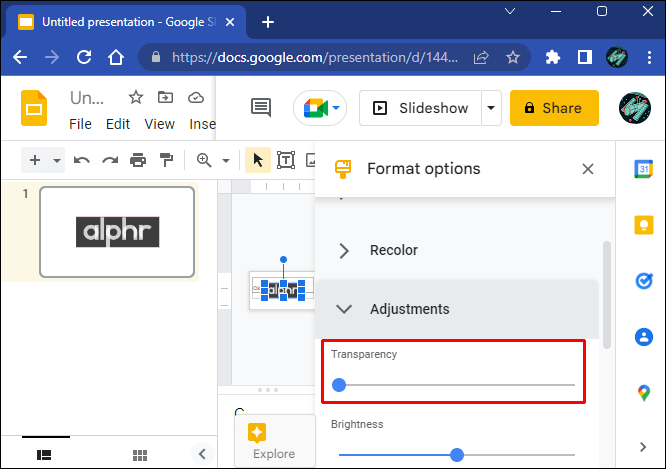
Making the image transparent is easier than you think.
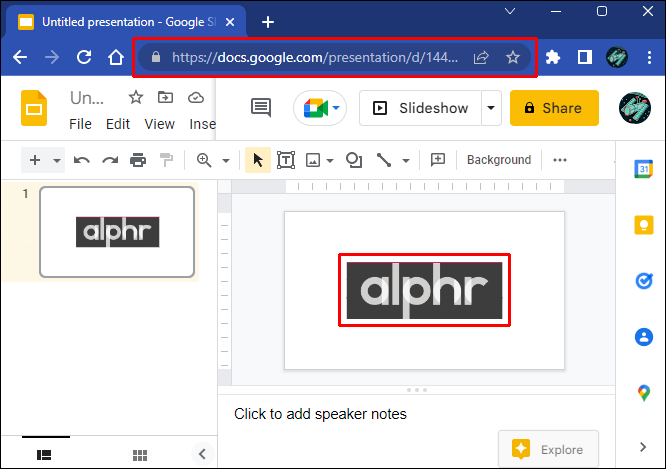
- Load an image in Google Slides.

- Right-click the picture and select “Format Options.”
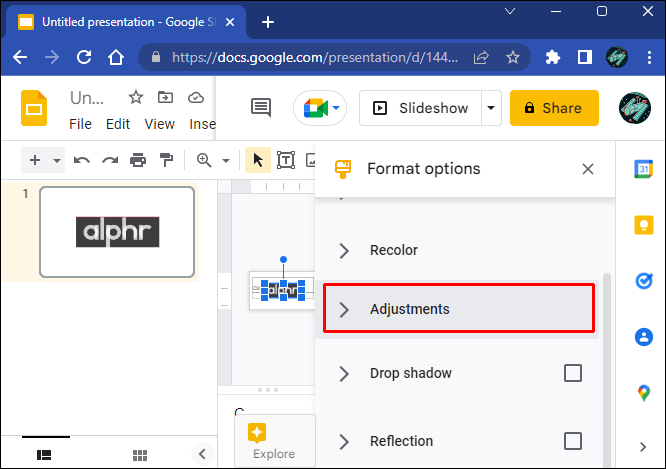
- Click the “Adjustments” option from the new window.
- Adjust the “Transparency” slider until satisfied.
- Continue working on your slide.

Note that Google Slides has limited photo editing capabilities. As such, it can’t make backgrounds transparent or remove them without a third-party editor.
You won’t be able to make only the background disappear because Google Slides doesn’t account for image layers like dedicated graphic editing software. Thus, the transparency settings will apply to the entire image.
Fortunately, there are plenty of free and paid editing tools you can use for more advanced customization tasks.
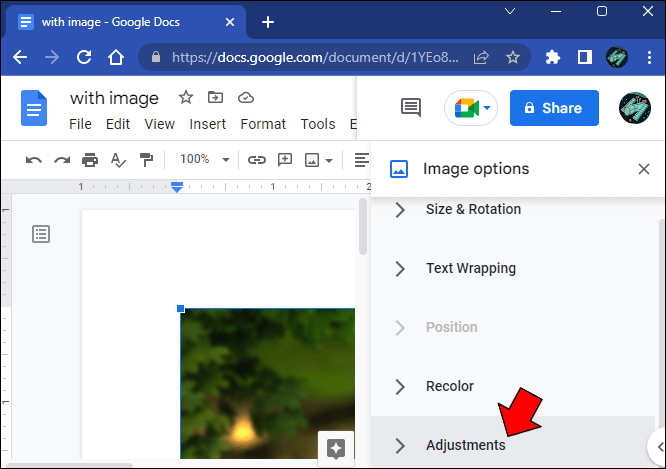
Google Docs
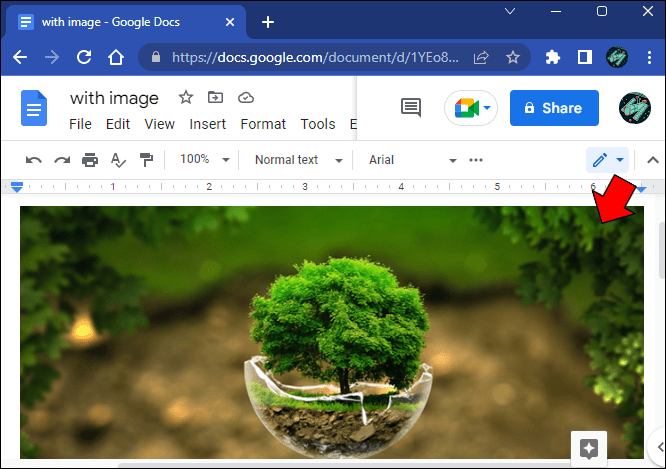
Google Docs is another cloud-based application with limited photo editing features. Image transparency adjustments are possible and require a very simple process.
- Sign in to the app with your account.
- Select a document with an inserted picture or create a new one.
- Select the picture you wish to change.
- Click on the “Image” button in the “Toolbar” section.
- Go to the “Adjustments” tab.
- Play with the “Transparency” slider tool until you get the desired result.
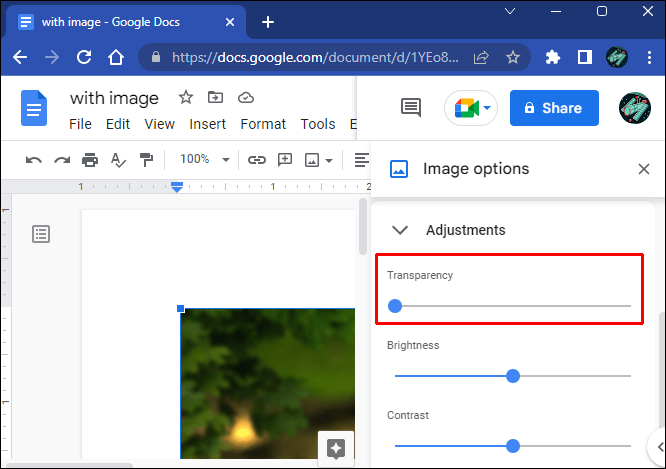
Google Docs and Google Slides have very similar image transparency editing capabilities. Learning to use one app will help you quickly master the other.
However, neither supports image background modifications, as all transparency sections affect the entire image.
Word
Although Word offers similar functionality to Google Docs, its photo editing capabilities are more sophisticated.
Even if it isn’t on par with Adobe Photoshop and similar editors, it can do a pretty good job of tackling image background modifications.
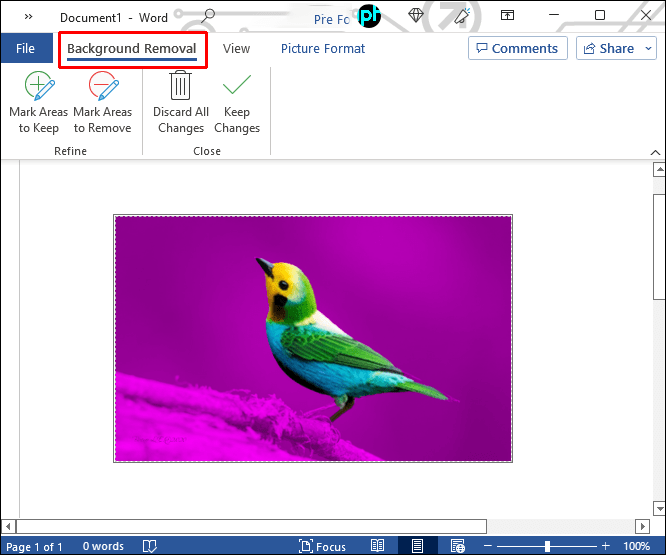
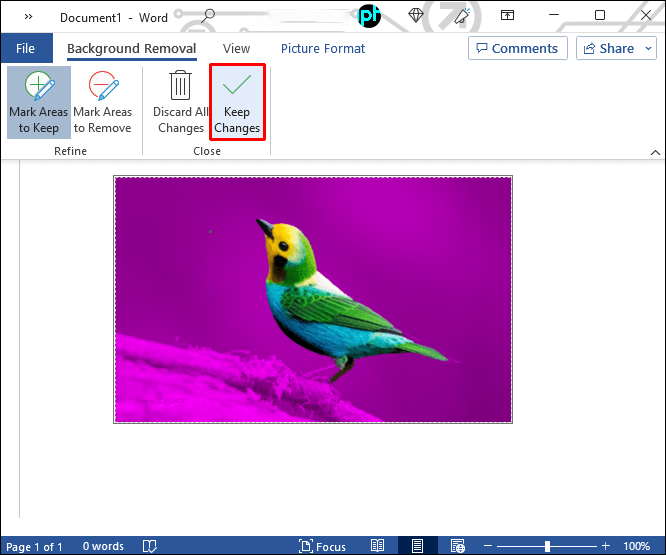
Word does this by attempting to fill out the picture background in magenta. After that, you can choose what happens with the filled-in background.
However, the auto-detect feature won’t always work, and you may need to take a hands-on approach.
Using images with well-defined objects can help the Word algorithm separate the background from the subject.
Here’s what you need to do to remove the background in Word.
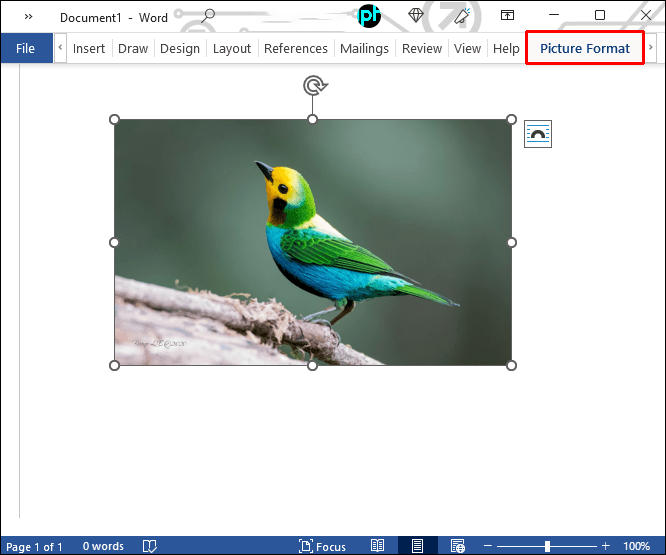
- Select the image you want to adjust in a document.

- Go to the “Format” tab.
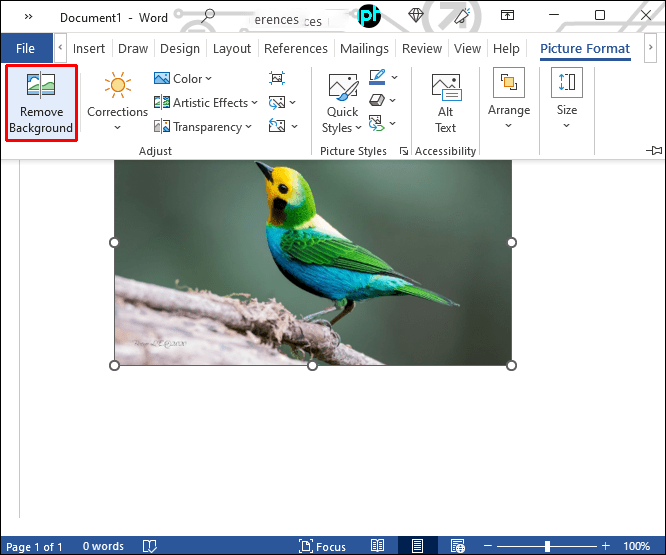
- Click the “Remove Background” option.
- Go to the “Background Removal” tab.
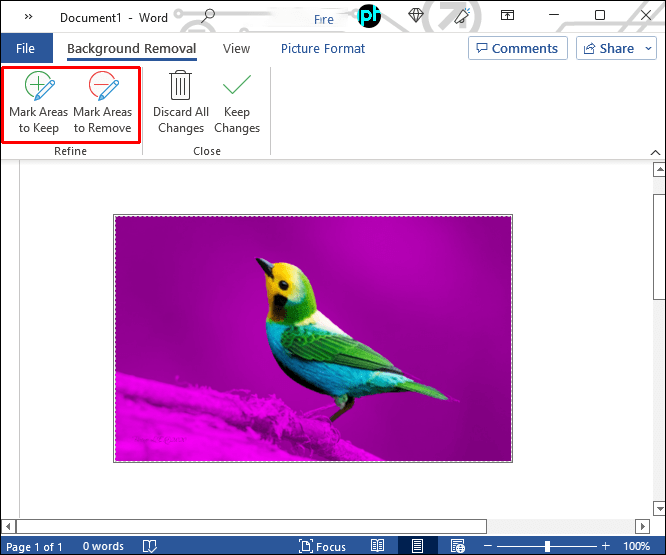
- Use the “Mark Areas to Keep” and “Mark Areas to Remove” tools to adjust the image.
These tools help you amend the app’s mistakes when filling in the background. The tools are easy to use and work similarly to any pen drawing tool that can highlight specific areas.
You know you’re doing it right if the areas you want to remove turn magenta after making your selection. The reverse applies to areas you want to retain, as they should revert to the original color. - Click the “Keep Changes” button.
Note that this is a pretty decent feature to use if you want to remove an image background when working in a Word document without going through a third-party editor first.
However, Word doesn’t have a transparency slider and also doesn’t work with layered images. Therefore, you can remove a background but can’t make it transparent.
FAQ
Can you remove the image background in Microsoft PowerPoint?
PowerPoint allows various image customizations, but background removal or transparency aren’t among them. Similar to Word, PowerPoint only allows users to change the entire picture opacity and remove its outline to make it blend smoother into the document.
Background Manipulation Is a Gateway Skill to Superior Editing
If you want to play around with images and create amazing content, adjusting the image background is one of the first skills to master.
Whether that’s removing the background, changing its color, or adjusting the transparency, the best way to go about it is with a dedicated image editing tool.
Other software – especially apps focused on document creation – rarely have the necessary tools and features to manipulate the background on a superior scale.
Which software do you prefer for complex and more basic background transparency and removal projects? What free online tools you can recommend for someone with limited knowledge in this area? Let us know in the comments section.
For more such interesting article like this, app/softwares, games, Gadget Reviews, comparisons, troubleshooting guides, listicles, and tips & tricks related to Windows, Android, iOS, and macOS, follow us on Google News, Facebook, Instagram, Twitter, YouTube, and Pinterest.


