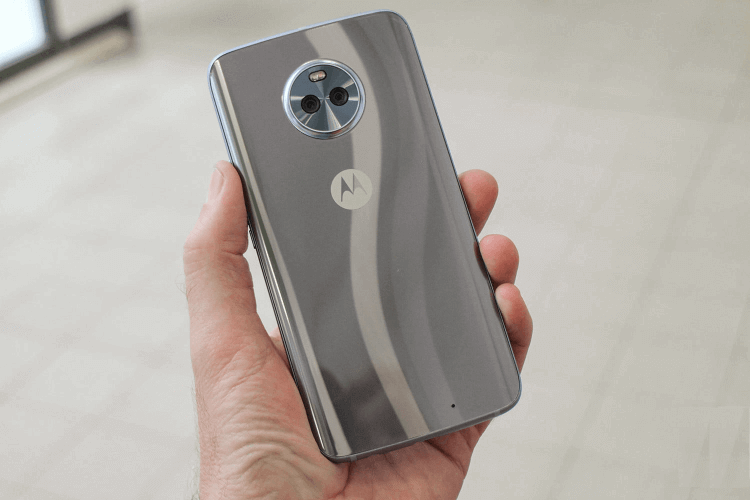
In this detailed guide, you will learn how to root and install TWRP recovery on Moto X4. The Moto X4 smartphone is a great device which comes with premium design and great looks at a fair price. Also, the smartphone offers a pure-like Android experience and runs smoothly as long as you don’t push the limits too high. If you are the owner of Moto X4 and want to improve the general performance or extend your overall access and tweak your handset, then the best solution is to root your device and install latest TWRP recovery. Once you root and install custom recovery then you will gain a full control over built-in apps, features, capabilities and you will be able to access, modify, customize, optimize the actual Android functionality and personalize your Motorola Moto X4 without hassle. By following this simple step by step guide, you can easily root and install TWRP custom recovery on your Moto X4. The TWRP is not an officially supported by Motorola; it is developed by the third-party developer.
A TWRP recovery is a dedicated tool that features a touch-based interface and intuitive settings through which you will be able to apply different other customizations. After rooting, you can customize the Android UI, bump speeds, upgrade battery life and improve general performance and so on. Remember that your Motorola Moto X4 is running on a locked bootloader, otherwise, you won’t be able to install TWRP recovery on your device. Don’t forget to take the full backup of all your valuable data before proceeding. If you are interested in rooting and installing TWRP custom recovery on your Motorola Moto X4 then go ahead and follow the given steps.
Pre-Requirements:
- As always make a proper backup of all your Contents, Contacts, Call Logs, SMS, MMS and APN Settings, etc
- Enable USB Debugging on your Moto X4 by going to Settings > Developer options.
- Download and Install Motorola USB Drivers on your PC.
- Your Moto X4 Bootloader must be unlocked. Here is the official method on Motorola portal
- Setup Android SDK on your PC to get ADB and Fastboot working.moto
- Download unofficial TWRP recovery image Moto X4_TWRP 3.0.2.0 Recovery
- Download the latest SuperSU package UPDATE-SuperSU-vx.xx.zip
SuperSU Modification:
- Open SuperSU file without unzipping→ find and open “config.txt” file inside.
- Find “eng verity crypt” text in the file→ then replace it with “eng noverity nocrypt”.
- Save and close the file.
You May Also Like:
How to Install TWRP and Root Redmi 4A
Steps To Root Moto X4 and Install TWRP Recovery
Step No 1: First of all transfer the SuperSU zip package to your Moto X4 that you have already downloaded from the above link.
Step No 2: Now rename Moto X4 TWRP Recovery file to recovery.img.
Step No 3: Move recovery.img to platform-tools folder in the Android SDK folder.
Step No 4: After moving the image to Android SDK folder, connect Moto X4 to your PC via USB cable.
Step No 5: Now launch a command prompt window from inside the platform-tools folder and type the following command:
adb reboot bootloader
Step No 6: After the bootloader screen appears on the screen of your Moto X4, type this command:
fastboot flash recovery recovery.imgStep No 7: When the recovery is flashed to the device, give the following command:
fastboot rebootStep No 8: Just reboot your Mote E into recovery mode to flash SuperSU by giving this command:
adb reboot recovery
9: Simply tap on the Install option in TWRP, browse UPDATE-SuperSU-vx.xx.zip where you’ve transferred. Select it.
It will take some time, wait till it’s flashed after confirming the installation.
Step No 10: Now you’ll need to reboot your Moto X4 by navigating to Reboot > System option.
Congrats! Your Moto X4 is now rooted, and TWRP Recovery is installed on it successfully. To confirm that either your Moto X4 is properly rooted or not, download and install the Root Checker app from the Play Store.
Let us know if you have any question or query about the above steps to root Moto X4 and the installation of TWRP Recovery.
For more such interesting article like this, app/softwares, games, Gadget Reviews, comparisons, troubleshooting guides, listicles, and tips & tricks related to Windows, Android, iOS, and macOS, follow us on Google News, Facebook, Instagram, Twitter, YouTube, and Pinterest.


